The Isometric Camera Controller is what drives the games camera. The camera for our game is needed to be in an Isometric perspective, like the original Fallout games – from a 45-degree angle above and to the side of the character. This creates the overall feeling for the gameplay. The camera supports being updated at run time as well as having editor options for allowing the setting of the Camera’s Position, Rotation and Field of View.
Demonstration Video
A game created in Unreal 5 as part of a cross discipline team of 20 over 8 weeks. I programmed multiple mechanics and features for the game in C++, as well as being in charge of source control, tech help for other team members and debugging.
Isometric Camera
Interaction System
The Interaction System is how the player interacts with the world; it was my job to adapt a very rough implementation of it into a Component that can be added to the Player. This is a fundamental system for the Game – as a detective needs to be able to interact with a range of different objects such as clues or objects to achieve the goal. This system utilizes an Interface to allow for different types of objects to ‘interact’ with the player – however the player usually starts the interaction. We decided to keep the player a bit different due to the size of the game not being large, however in a fully-fledged game a fully generic system would be used.
Inspect Component
The Inspect Component is an implementation of BPI_Interact which allows the Player to interact with it. The Inspect Component specifically handles physically looking at an object in the world, such as a clue to look to see if there are any other clues on the object – such as blood or damage. This system utilizes a separate Camera to dictate the viewing angle as well as searching for a Component Tag on the Static Mesh Component that the inspection will use. The IA_Move function is an event driven by the Enhanced Input System to listen for movement key inputs after the input system context has been switched, so that the object can be rotated.
Torch
The Torch is one of the simpler gameplay related mechanics, in which it allows the Player to Enable or Disable a Spotlight Component as a representation of a Torch. This is used as part of the game due to the power being out in the factory and the player needing to use the torch to look around and find the Power Box to fix lights
Path Blocking
The Path Blocking Component is a utility component that allows the us to block off areas with Blocking Volumes until something triggers the Volumes to be unlocked. This is utilized in the game in 3 ways to stop the player from progressing too early into other areas of the game.
Lighting
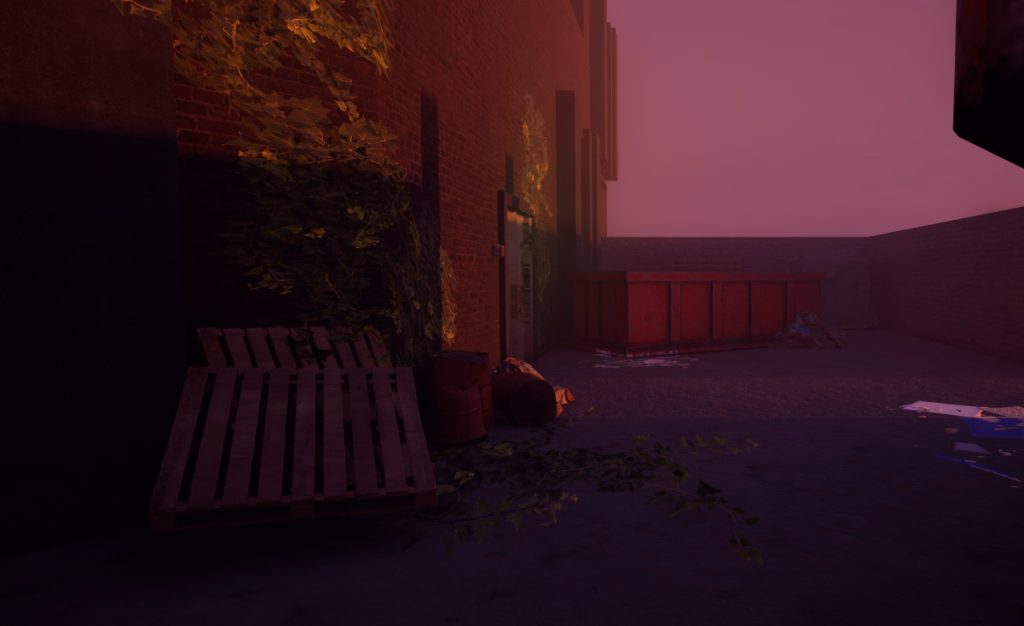
I was also responsible for the Lighting in the game, which I split into 2 parts, First Pass and Final Pass. The first pass was to create a general “feel” for the level and as a review of the level at hand. The initial lighting intent is to give the main factory floor a hard-corporate feeling with harsh high temperature lighting – for this I used 10000K (as this value seems to represent the colour better than a more accurate value of 7000K) spotlights to illuminate the area. Following on from this I used warmer, lower temperature for the Office area, as blue light causes more eye strain than orange. The monitor in the office uses a mix of pink and blue lights to get across that the screens are displaying something – without being directly visible. Continuing up the stairs is a red alert light, representing that an issue has occurred on the higher-production line from before the closure of the facility. The production line has similar lighting to the factory floor.
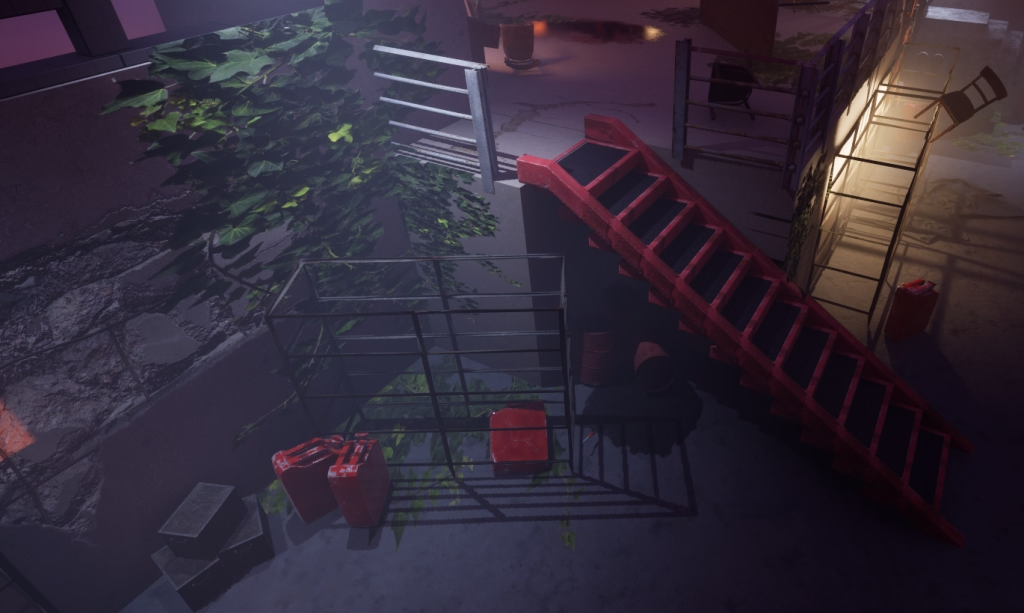
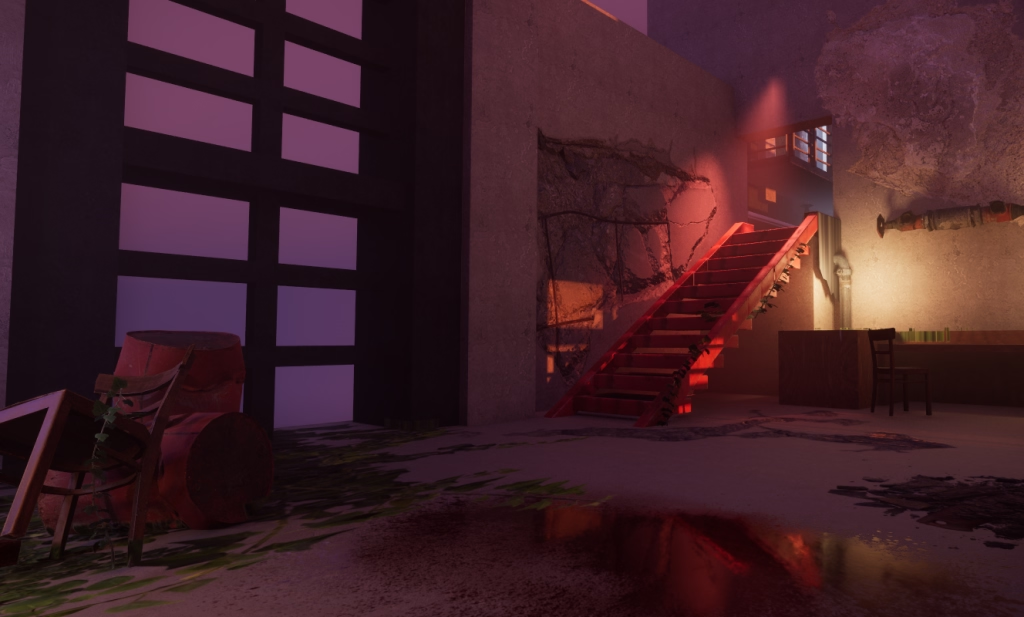
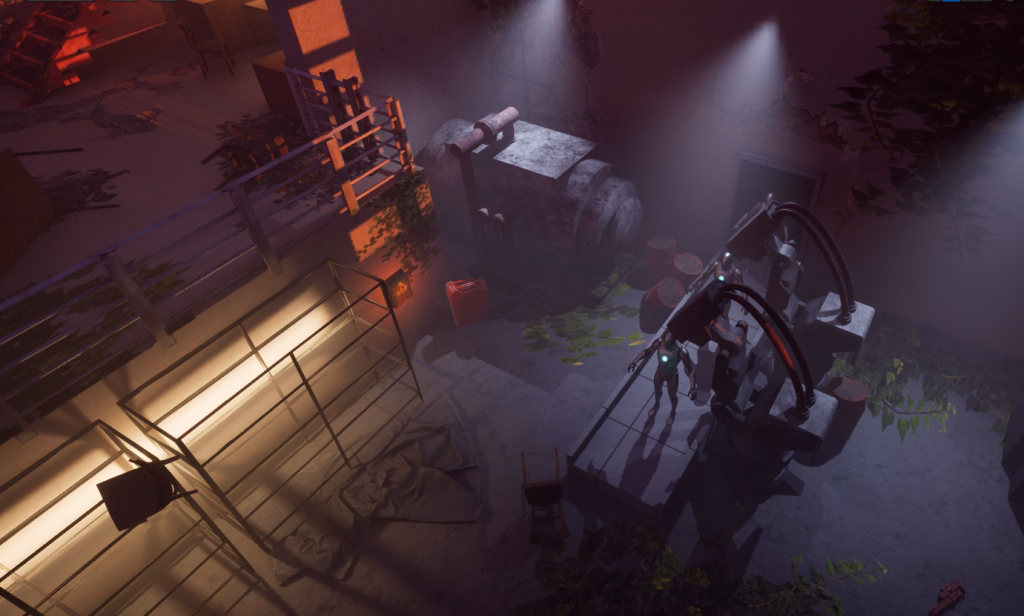
For the Final Pass, I acted on feedback I gave myself as well as that of other members of the team – as well as optimizing the light count as the first pass was somewhat unoptimized – with in some cases 3 lights lighting the same small area directly. Many of the multiple lights were reduced by optimizing placement and brightness. One of the lights on the far wall of the lower factory area was changed to have a green tint as there was an ivory decal covering most of the light model. The office area lights were completely reworked to an overhead incandescent light that is hanging off the wall – pointing towards the desk. The monitor light was changes to only a blue light to reduce the amount of the overlapping lights. The Red light on the stairs was changes to a point light and brightened to make the stairs stand out further against the office. As for the production line room, the left side is now covered by an incandescent light as there is a table with schematics and a computer terminal on it. The rest of the area is in the same light as the lower factory area – with the lights overlapping approximately where the plot-important robot resides.
he major audio file in the game, the tape, was my task too – to create this I got 3 members of the group to record the voice lines into my microphone, despite the background noise. I also recorded a clean ‘background noise’ track from the general audio in the room as the tape recording is supposed to be set in the factory offices before it closed. Initially, cleaning the voice lines was a challenge as we did not find a quiet place to record – but after using a mix of a Compressor and Noise Gate and iterating over these settings several times, I managed to separate the background from the voices; however, this was for naught in the end, as I ended up using the background talking to fill the audio. For the door slam sound, I simply slammed on my desk and then base boosted the audio to create the illusion of the door being opened with such force the in-universe microphone clips the sound. After this I needed to record the Revolver sound effects – replicate the loading of ammo and returning the chamber. To achieve this, I recorded the insertion of a magazine on an airsoft replica for a bullet insertion sound, and then I released the bolt catch for the return of the chamber. The final sound effect is by Uhnji_ - which is available here, is used under CC0. The audio for this can be heard in the trailer.
Over the course of the entire project there were several bugs that came up that affected the whole project but overall, many of these are part of why systems ended up the way they are at the end. For example, the Inspect Component went through at least 3 different systems that all worked slightly differently and when bugs were discovered with the original version, it was reworked to solve these issues or for the code to become more defensive to any issues.The final major component of the project I was responsible for was the Trailer. I came up with using the audio file discussed previously as the drive for the visuals of the trailer. I recorded a full playthrough of the game, with every single interaction and then cut it up to form a small overview of the game whilst also setting the stage for the game. I open the trailer with the games banner logo with the audio fading in as the logo fades out. After this the audio plays in the background as I build up to the door slam with a general game flow shortened down. The final scene before the door slam is inspecting a bloody hand stain which then cuts to black as the door slam happens. As the revolver load happens the final scene fades in slowly, following up to the gun shot which happens as the player reaches the robot and cuts to black again after this.